Pulling Data From Salesforce Into Drupal
In my last tutorial, we integrated Salesforce with a local Drupal installation. In this tutorial, we will continue to build off from what we learned and pull data from Salesforce into Drupal.
For those of you who didn’t read my last tutorial, I will repeat a few crucial steps needed to get us started.
Create a Free Salesforce Developer Account
If you don’t already have a Salesforce account, you can create a free developer account by following the steps below.
- Go to https://developer.salesforce.com/signup and apply for an account
- Check your email for confirmation, and verify your account
- You can now access your account by going to https://login.salesforce.com/
Install and Enable Salesforce Suite Module
In order to connect your local Drupal install with your Salesforce account, you’ll need to install and enable the Salesforce Suite module.

Authenticate Your Salesforce Account With Drupal
In order to authenticate your Salesforce account with Drupal, you need to create a connected app in Salesforce. Follow these steps to create a connected app, and authenticate Salesforce with Drupal.
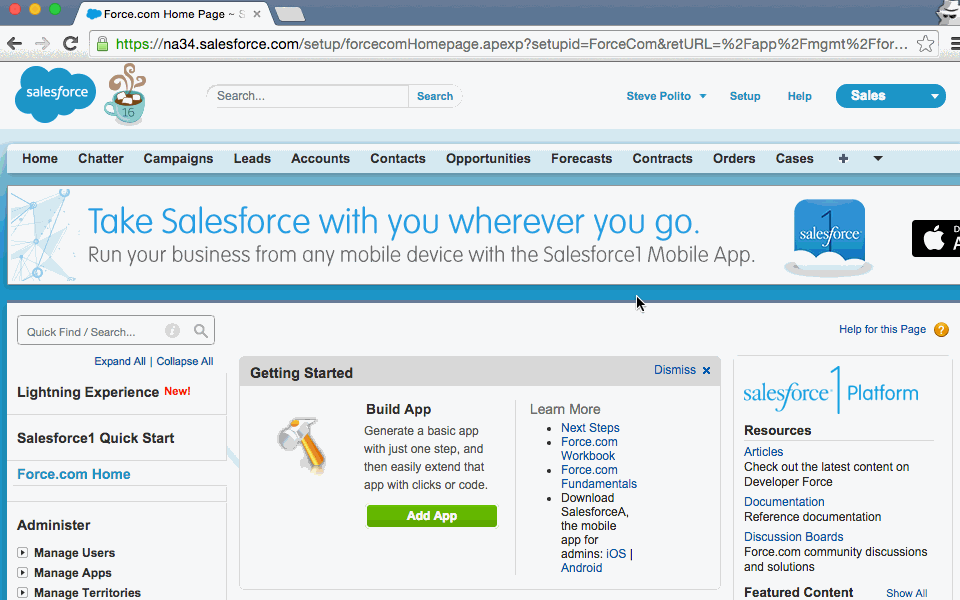
- Login to your Salesforce account at https://login.salesforce.com/
- Under Build Click Create > Apps
- Then under Connected Apps click New
 Click to expand**
 - Fill out the following fields:
- Connected App Name
- API Name
- Contact Email
- Select Enable OAuth Settings
- The Callback URL will be https://your-example-site/salesforce/oauth_callback. Note that you can find this at admin/help/salesforce on your local Drupal install
- Select Perform requests on your behalf at any time and add it to the Selected OAuth Scopes column
- I also needed to add Full access (full) to the Selected OAuth Scopes column
 Click to expand
 Click to expand
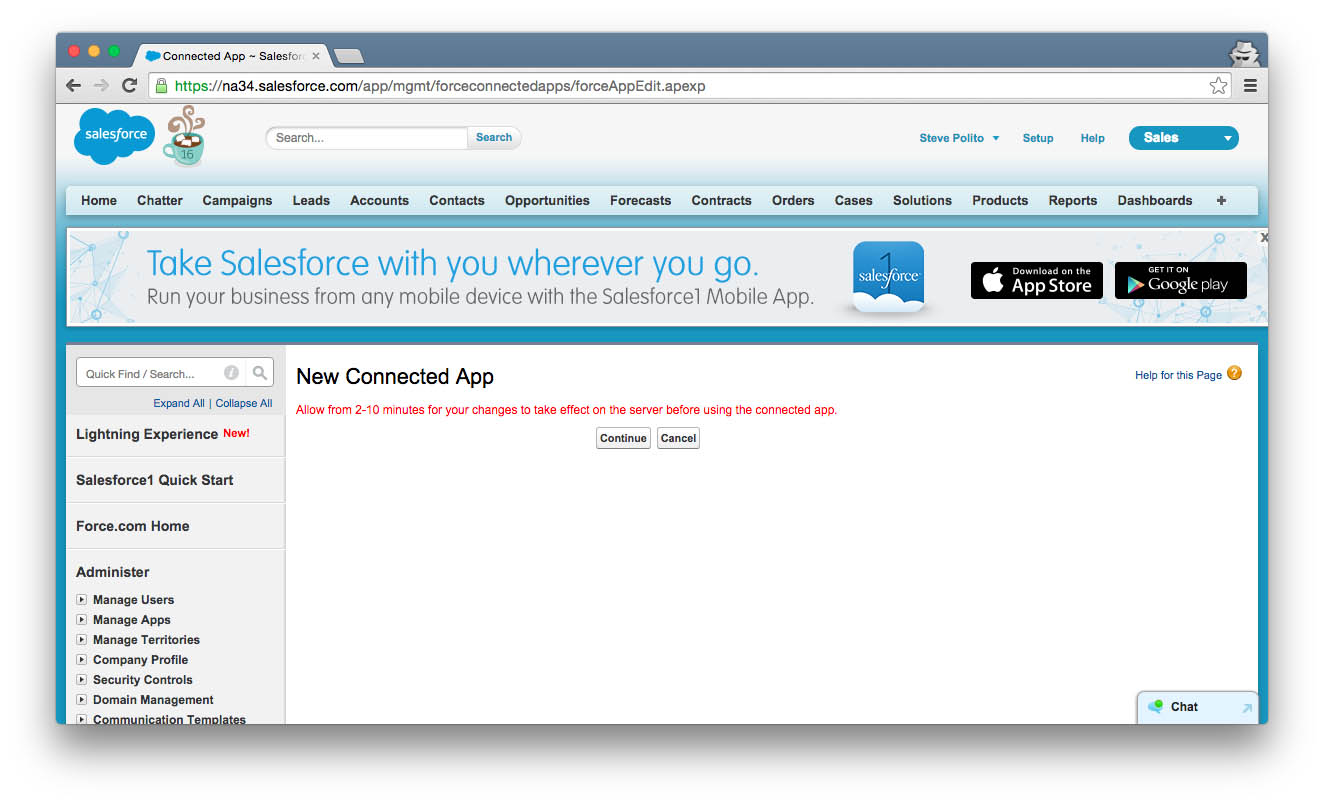
- Save. You’ll get a message alerting you that you app will be ready to authenticate within 2-10 minutes.
 Click to expand
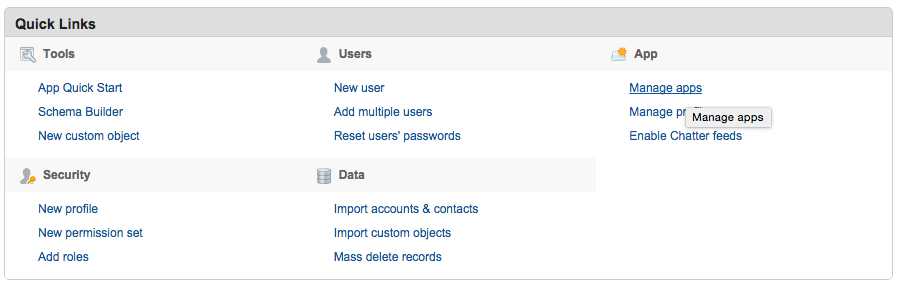
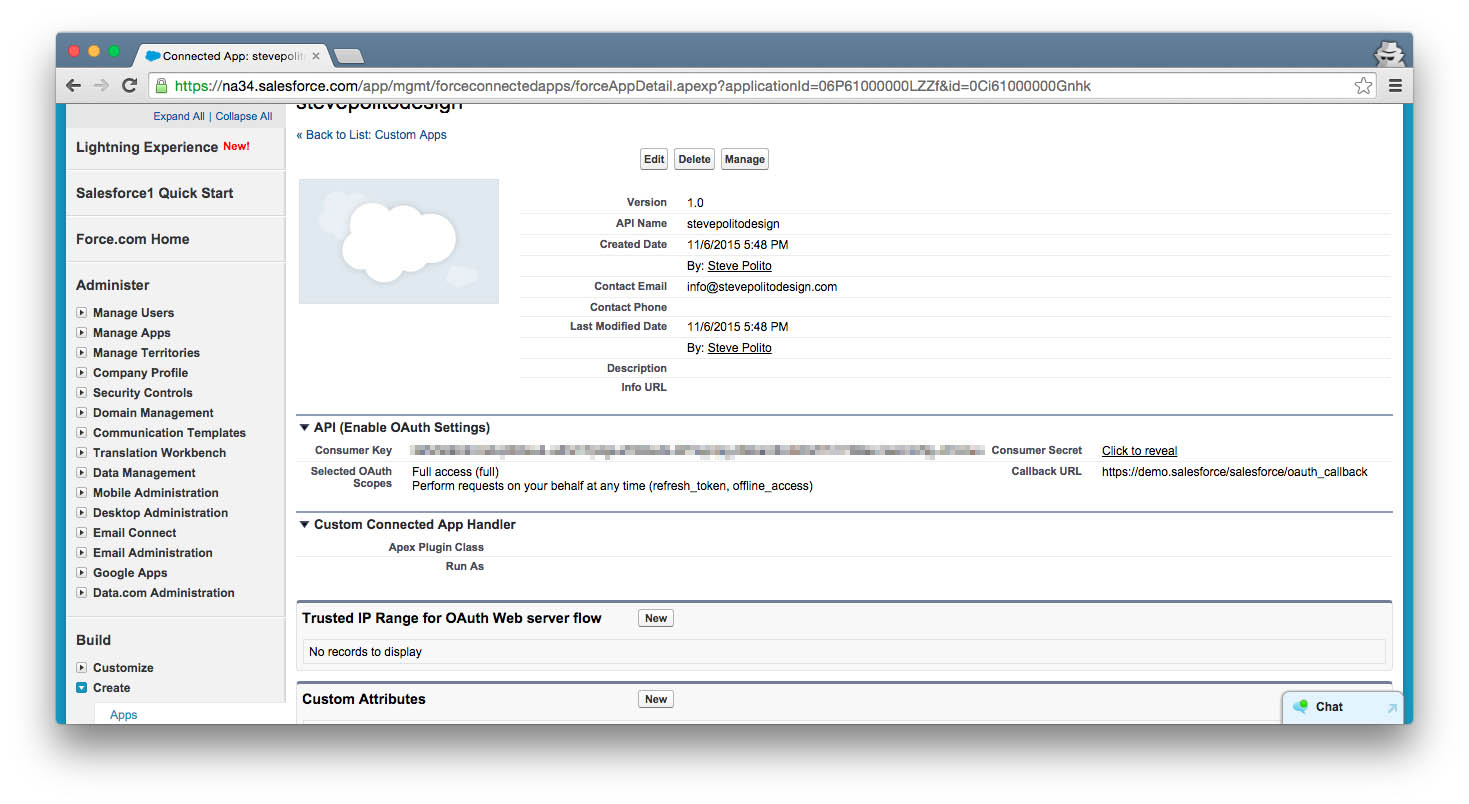
- In Salesforce under Quick Links click Manage Apps. Then under Connected Apps click the name of the app to see the Consumer Key and Secret Key
 Click to expand
 Click to expand
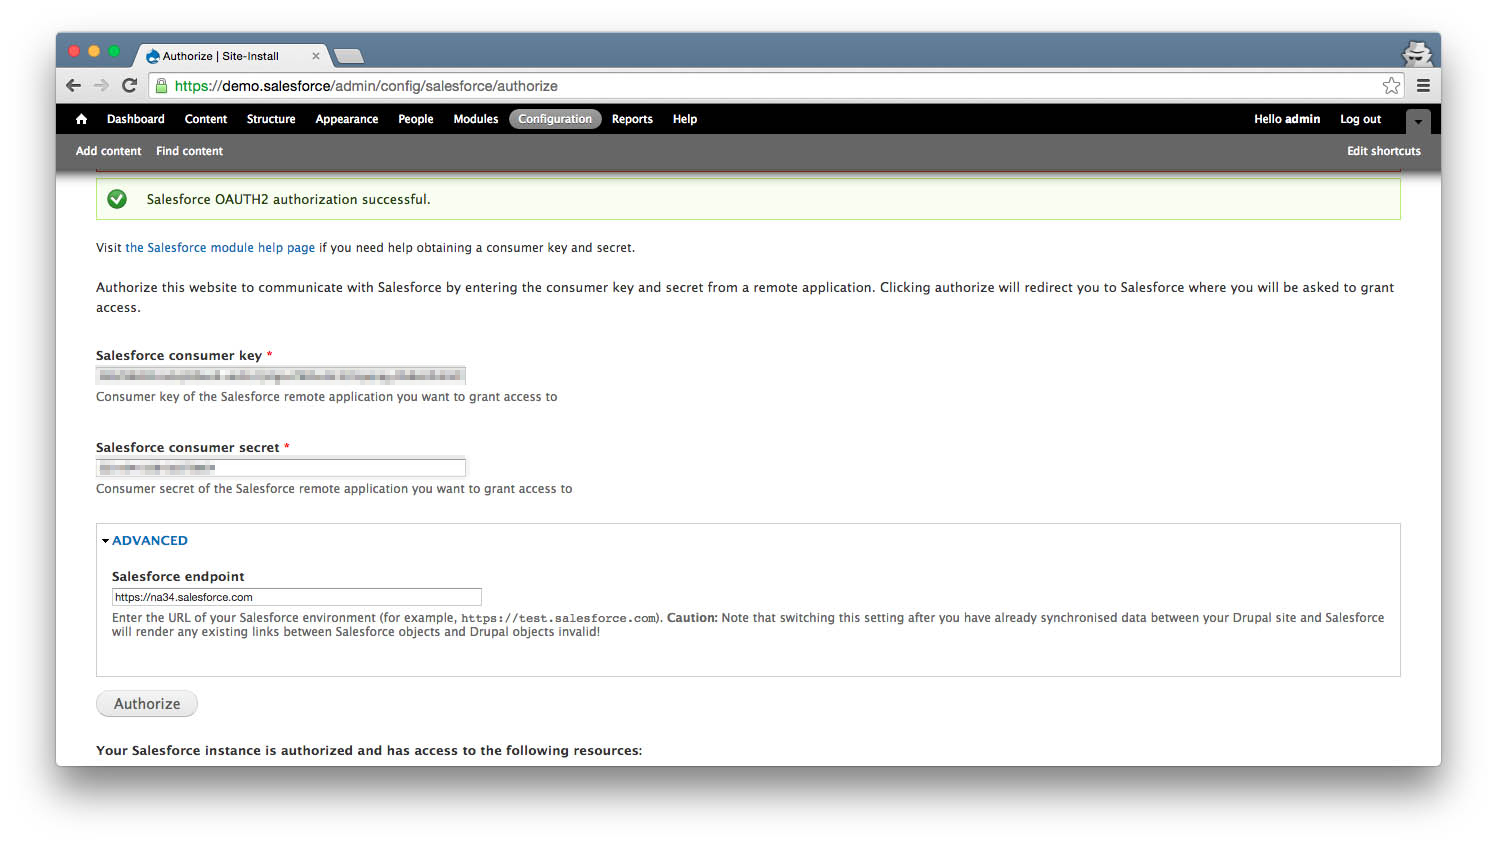
- Back on your local Drupal install go to the Salesforce Authorization page at admin/config/salesforce/authorize
- Add your consumer and secret key
 Click to expand
- Under advanced, add the Salesforce endpoint. This will be the domain you see in your address bar when logged into your Salesforce account. In my case it’s https://na34.salesforce.com
 Click to expand
- Click Authorize and follow the prompts
- Add your consumer and secret key
Add Fields To A Drupal Entity That Will Be Populated From Salesforce Object
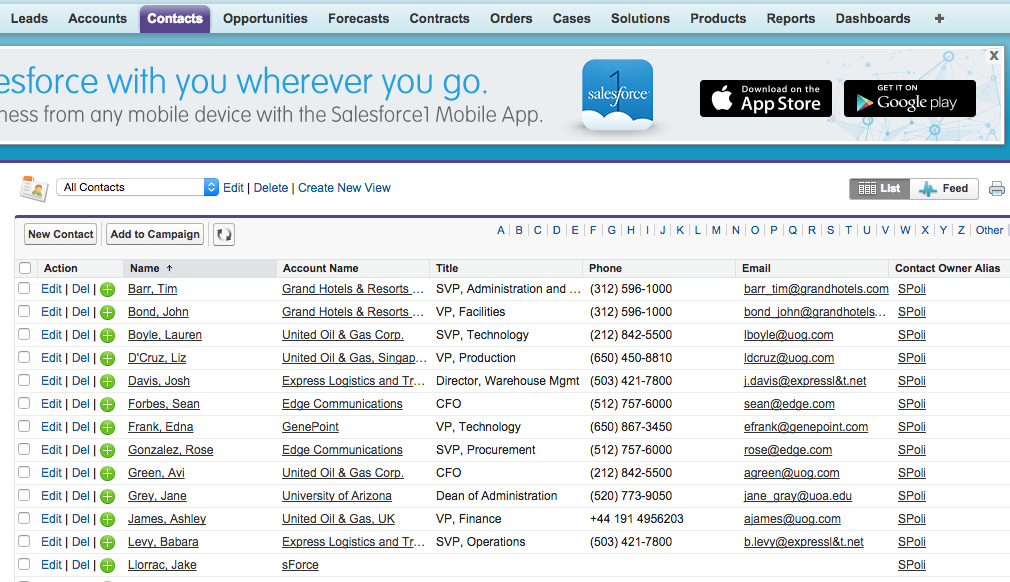
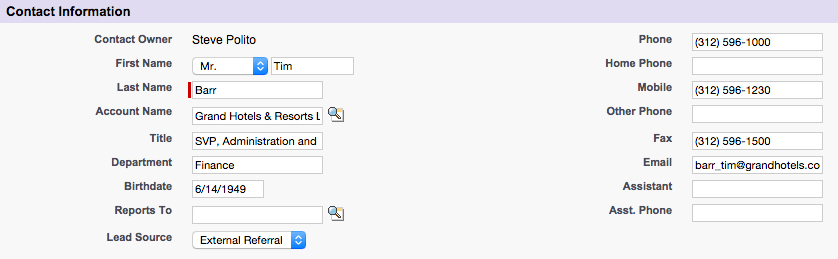
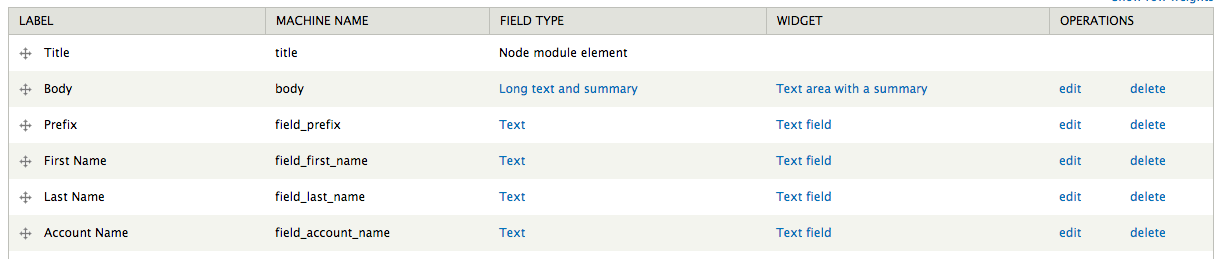
In order to pull data from Salesforce into Drupal, we need to create fields for the data mapping. For this tutorial, I’m going to use the default contacts that come with a free Salesforce developer account. Specifically, I’m going to use the Salutation , First Name , Last Name fields. I’m also going to create a custom content type to serve as the entity to map the data to.
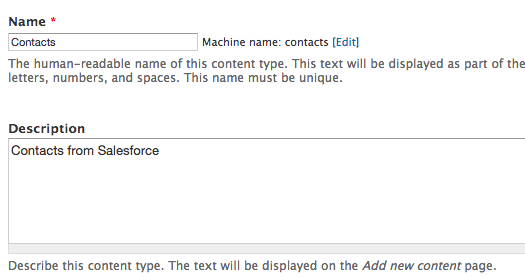
- Create a custom content type called Contacts by navigating to admin/structure/types/add
 Click to expand
 Click to expand
- Add a list(text) field for the Salutation. Add the following for default values (these are the default values used in Salesforce).
- Mr.
- Ms.
- Mrs.
- Dr.
- Prof.
- Add a text field for the First Name
- Add a text field for the Last Name
 Click to expand
- Add a list(text) field for the Salutation. Add the following for default values (these are the default values used in Salesforce).
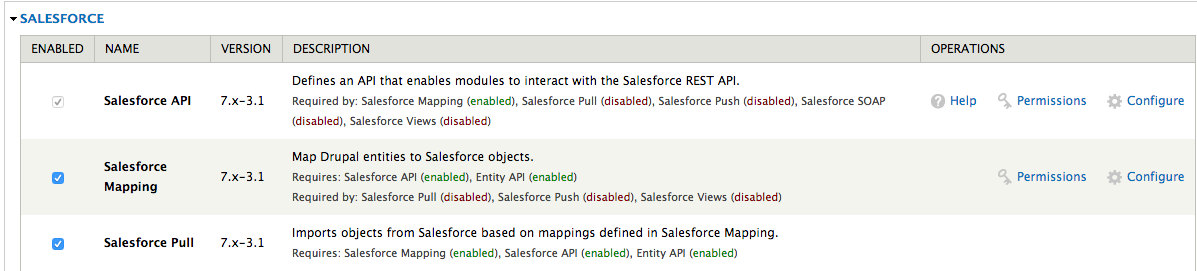
Enable Modules**
Enable Salesforce Mapping and Salesforce Pull
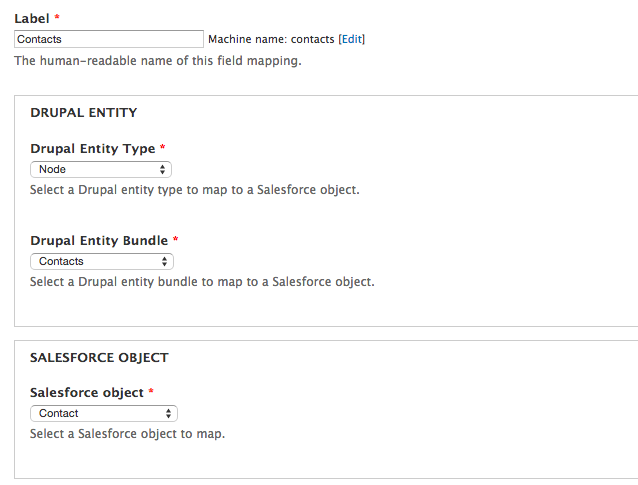
Add a Salesforce Mapping
- Navigate to admin/structure/salesforce/mappings
- Select Node under Drupal Entity Type
- Select Contact under Drupal Entity Bundle
- Select Contact under Salesforce object
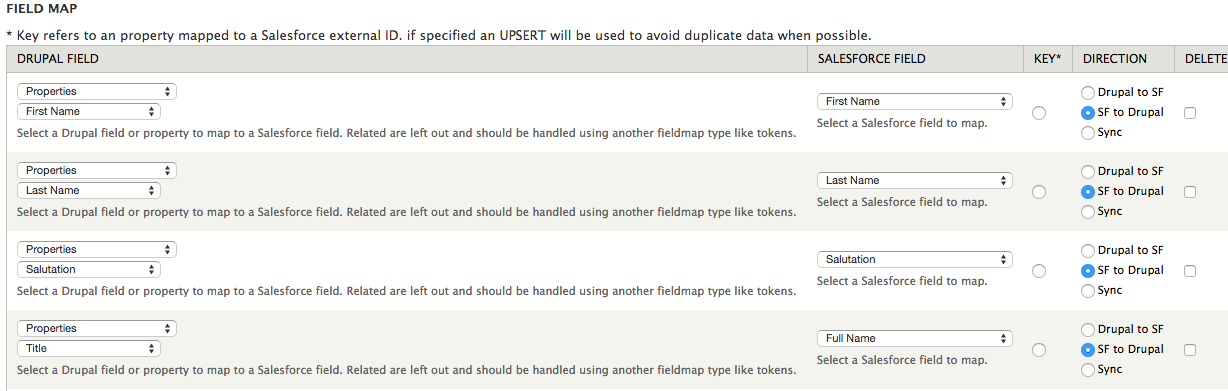
Map Salesforce Fields To Drupal Fields
Configure the following under the FIELD MAP section
- Under the DRUPAL FIELD column, select Properties and then the fields we created earlier.
- I also mapped Full Name to the Title field.
- Under the SALESFORCE FIELD column, select the Salesforce field that you wish to map to.
- ProTip: Use Chosen to help search the Salesforce fields.
- Under the DIRECTION select SF to Drupal for all fields
 Click to expand
- Under Action triggers select the following:
- Salesforce object create
- Salesforce object update
- Salesforce object delete
 Click to expand
- Save
Batch Upload Data From Salesforce Into Drupal
Now that we’ve mapped our Salesforce fields with our Drupal fields, we can finally import data into Drupal. The simplest way to do this is to run cron. However, I ran into an issue where running cron simply didn’t pull in any data. To fix this, you need to delete the salesforce_pull_last_sync variable.
- Run the following command
drush vdel salesforce
- You will see an output similar to below. Enter the number that corresponds with the
salesforce_pull_last_syncvariable you wish to delete. If you’re mapping more than one Salesforce Object, there will be more than onesalesforce_pull_last_syncvariable
Enter a number to choose which variable to delete.
[0] : Cancel
[1] : salesforce_consumer_key
[2] : salesforce_consumer_secret
[3] : salesforce_endpoint
[4] : salesforce_identity
[5] : salesforce_instance_url
[6] : salesforce_pull_last_sync_Contact
[7] : salesforce_refresh_token
- Run cron
Conclusion and Final Thoughts
I absolutely struggled connecting Salesforce and Drupal on my first project. The two main issues I ran into were the following:
- I couldn’t pull data into Drupal from Salesforce until I deleted the
salesforce_pull_last_syncvariable and ran cron - Fields need to be the same field type in Salesforce and Drupal. For example, text fields map to text fields. List fields maps to list fields.
Also, if you’re importing a lot of data, you’ll need to run cron multiple times. You also might run into timeout issues.