Drupal Smartqueue Taxonomy Tutorial
Drupal allows you to organize content into taxonomies. This is best illustrated in tagging content, similar to Twitter. Drupal then dynamically creates pages that list content that have been categorized with specific taxonomy terms. By default, Drupal organizes content on these taxonomy pages based on post date. The most recently posted content will appear first.
However, what if you want to create a custom sort order? Not based on post date, title or whether or not if the node is sticky, but purely custom. Enter Smartqueue Taxonomy.
Smartqueue Taxonomy is a submodule that…
Creates a node queue for each taxonomy vocabulary
What this means is that when you associate a node with a term, a nodequeue will be automatically created with that same term name. You can then add this node to that subqueue which will allow you to create custom sort orders for each term.
Configuring Smartqueue Taxonomy
Before you do anything, you will need to make sure you have a content type that has a term reference field. By default, the **Article ** content type has a term reference field called “tags”. For this tutorial, we will use this as our reference.
Next, you will need to download and install Nodequeue and Node Auto Queue. You will then need to then enable Nodequeue, Smartqueue taxonomy and Node Auto Queue.

Once these modules are enabled, you will need to create a Taxonomy queue. Navigate to the admin/structure/nodequeue/add/smartqueue_taxonomy to do so.
I named my queue after the vocabulary I am using for consistency sake, but you can name it anything you wish. Make sure to select a Taxonomy fields field. Again, I am using the default Article content type for this tutorial, so there is a field_tags option.

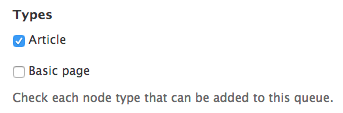
Next, select the content type you wish to associate this Queue with. I chose Article for the reason above.
Finally, select Auto add nodes. This will automatically add the node to the appropriate queue(s) upon saving.

Below is what happens when you add new content. Note how I tag this node as AddMe. Once saved, it automatically created a new nodequeue called AddMe, and added this node to that queue.
To see all of your nodequeues, navigate to admin/structure/nodequeue
Automatically Add Existing Content To Smartqueues
The above steps will ensure that any newly created content will be added to a dynamically created smartqueue. However, if you have existing content on your website, you will want to add these nodes to their appropriate smartqueues. By default, the Smartqueue you just created will have no subqueues.

If you have hundreds or thousands of nodes, this would be a tedious task. However, we can easily do this using Views Bulk Operations (VBO).
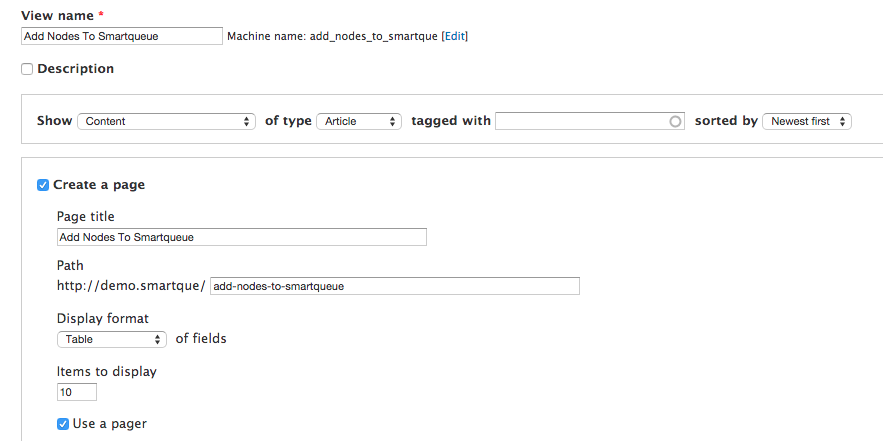
Once installed and enabled, create a new view by going to admin/structure/views/add
Create a page that shows Content of type, and select the appropriate content type. In my case, I am using Article. Set the Display format to Table.
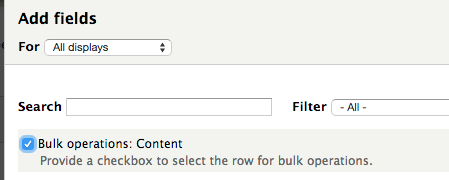
Next, add a new field called Bulk operations: Content.
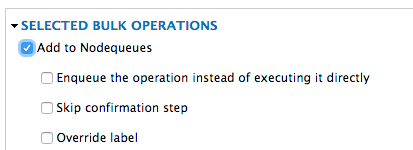
Then, under Selected Bulk Operations chose Add to Nodequeues and click Apply.
Finally, navigate to the page you just created and execute the bulk operation you just created. Be sure to select all nodes, and to select the appropriate nodequeue.
Now all the subqueues have been created and populated.

Make Term Pages Respect Custom Sort Order of Smartqueues
Now that we’ve added all existing and newly created content to the smartqueues, we can update the individual term pages.
As I stated early, the default sort order of each term page is based on post date. This is demonstrated below.
The first thing we need to do is enable the Taxonomy term view. Navigate to admin/structure/views, and enable the view.
Next, remove the default contextual filters.
Then, add a relationship. Select Nodequeue: Queue. Require the relationship. You can also select to limit the queues.
Then, add a contextual filter of Nodequeue: Subqueue reference. Make Provide default value and for Type select Taxonomy term ID from URL. Select Load default filter from term page and click apply.
Finally, remove the default configurations for the sort criteria, and add Nodequeue: Position. Save the view.

Now, if I navigate to the subqueue for the particular term we looked at earlier, I can adjust the sort order.
Below is the same term page as before, but it now respects the sort order of the subqueue.
