Use Dashicons to Create a Social Media Menu in WordPress
There are plenty of plugins that allow you to add social media icons to your WordPress site. However, I always advocate avoiding plugins in favor of rolling out your own solution. Don’t fall into the trap of installing a plugin when you can develop your own solution using the WordPress API.
In this tutorial we are going to use Dashicons to create a custom social media menu.
For this tutorial, I created a child theme of twentyseventeen and named the theme example-theme. However, the steps below can easily be applied to your custom of templated theme. Below is the final result.

1. Load Dashicons on the Front End
- Add
wp_enqueue_style( 'dashicons' );to your theme’sfunctions.phpfile.
    add_action("wp_enqueue_scripts", "twentyseventeen_parent_theme_enqueue_styles");

    /**
      * Enqueue scripts and styles.
      */
    function twentyseventeen_parent_theme_enqueue_styles()
    {
      wp_enqueue_style(
        "twentyseventeen-style",
        get_template_directory_uri() . "/style.css"
      );
      wp_enqueue_style(
        "example-theme-style",
        get_stylesheet_directory_uri() . "/style.css",
        ["twentyseventeen-style"]
      );
      // load dashicons to the front end
      wp_enqueue_style("dashicons");
    }
2. Add a New Social Media Menu to Your Theme
-
Register a new menu by adding the following to your theme’s
functions.phpfile.
// create a social media menu
add_action("after_setup_theme", "register_social_media_menu");

function register_social_media_menu()
{
  register_nav_menu("social_media", __("Socia Media Menu", "example-theme"));
}
3. Add a Social Media Menu in the WordPress Backend
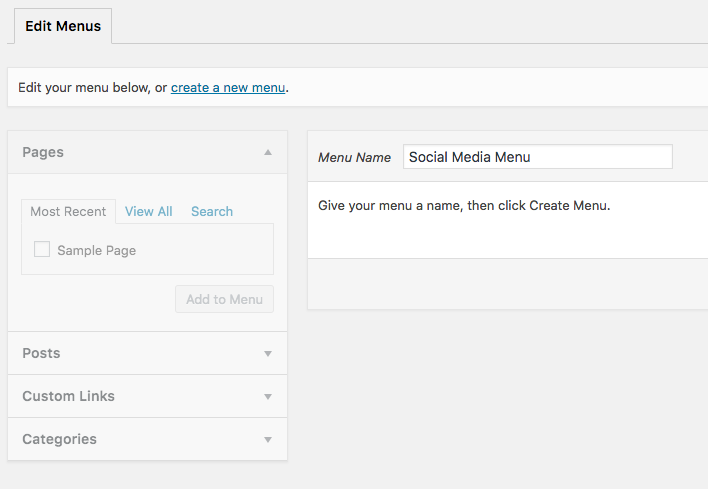
- Login to WordPress and add a new menu by navigating to /wp-admin/nav-menus.php?action=edit&menu=0
-
Name the menu anything you’d like. In my case, I named the menu Social Media Menu
4. Use Dashicon Markup in the Newly Created Menu
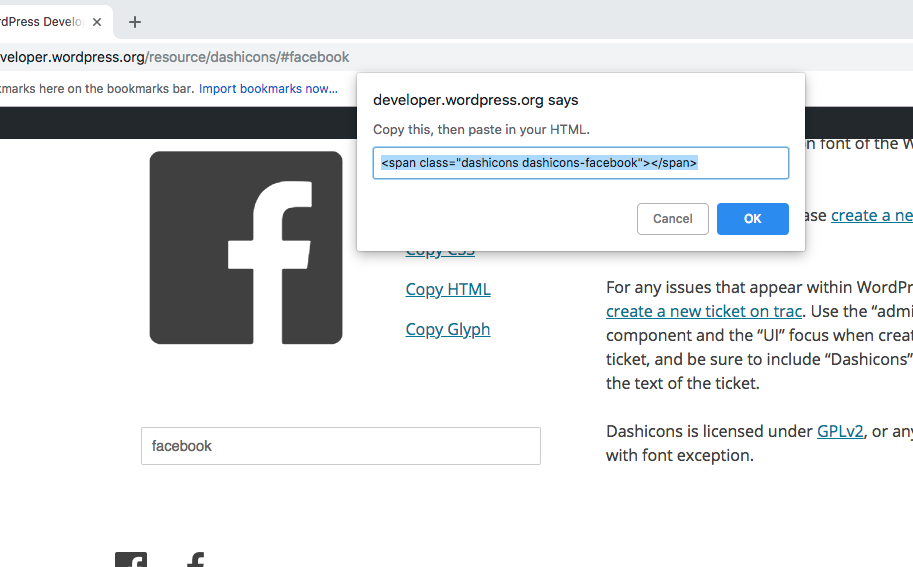
- Navigate to the WordPress Dashicons page and search for the desired icon. In this example, I will use Facebook.
-
Click Copy HTML to generate the correct HTML. In my case I get
<span class="dashicons dashicons-facebook"></span> - Navigate back to the menu you create in step 3.1
-
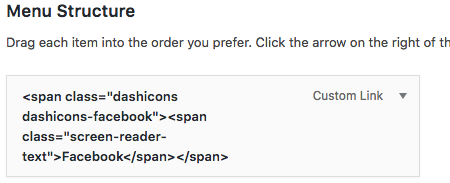
Add a Custom Link to the menu, ensuring you use
<span class="dashicons dashicons-facebook"></span>as the Link Text- To be accessible, add
<span class="screen-reader-text">Facebook</span>. It should now render<span class="dashicons dashicons-facebook"><span class="screen-reader-text">Facebook</span></span>.- Make sure your theme has a
screen-reader-textclass as outlined in The CSS class screen-reader-text
- Make sure your theme has a
- To be accessible, add
- Click Save Menu
5. Display the Menu in Your Theme
Display the menu in your theme as you see fit. In my case, I chose to display the menu in a Widget